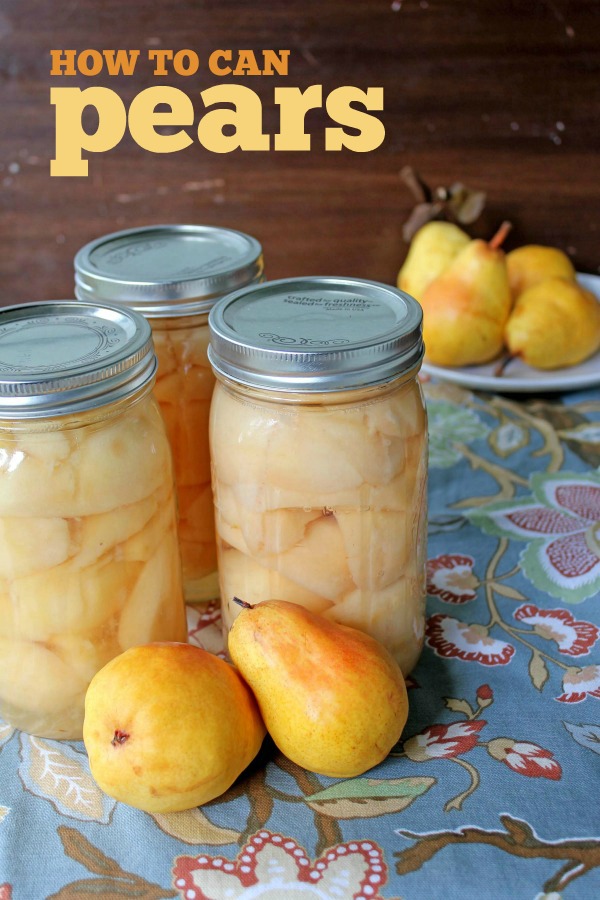
How to Can Pears
I don’t normally wear an apron when I’m cooking, but sometimes I’ll remember to tie one on while I’m canning. So around this time last year, I was wearing an apron to can when my then 3-year old son walked in the kitchen and immediately spotted the problem, “Mama! Your cape is on backwards!” I love that kid.
I think about that pretty much every time I put food into jars now. There’s something about home food preservation, whether it’s drying or freezing or canning, that makes me feel like I’m tapping into a long line of immigrants and pioneers and past generations. Strong, capable women. I really, really like that.
I also really like the fact that I can buy jars at Winco to can food on a gas stove in a kitchen that has running water. My good buddies, Pandora + Netflix, are usually involved. Clearly, I’m not pioneer material. But every now and then it feels good to put my cape on backwards and pretend.
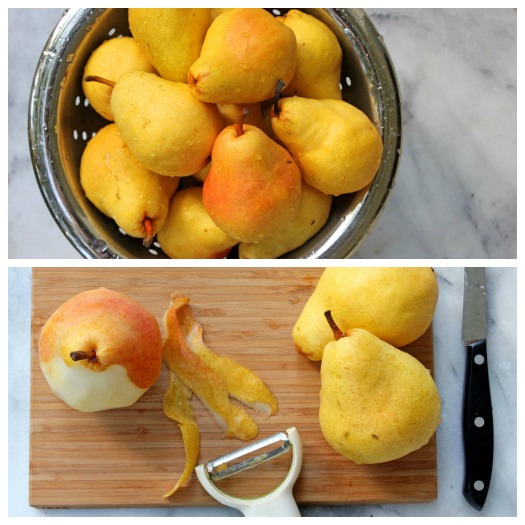
It’s tough to beat home canned pears. They are my favorite canned fruit to pop open in the winter.
In addition to the directions below, here are some tips:
- Bartlett Pears are the favorite variety for canning, but any firm, sweet pear will work.
- Pears are picked green so you usually have some lead time between buying the fruit and canning it. Simply spread the green fruit out in a single layer on newspapers. For Bartlett Pears, they will turn a reddish-yellow and be slightly soft when ripe.
- My family prefers peeled pears, but it is perfectly safe to leave the skins on, saving you lots of time. A friend shared with me that you can blanch pears in hot water and the skins slip right off. Brilliant!
- Because you have to use the hot pack method when canning pears (heating the fruit before filling the jars), this is a great 2-3 person job.
- You can use lemon juice or products like Fruit Fresh (Amazon) to prevent the fruit from turning brown between when it’s cut and when it’s canned.
- 1 quart jar will hold about 2.5 pounds of fruit. For this process, that’s about 6 medium Bartlett Pears.
- The syrup improves and maintains the flavor, color, and texture of the fruit. You could also use water or fruit juice, if desired.
- Fruit will often “float” in the jar if it is lighter than the syrup or if the jars are packed too loosely. (This isn’t as much of a problem when using the hot pack method.) It’s tricky when working with hot fruit, but I try to pack it cored-side down to help stack it in the jar as tightly as possible.
If you are new to canning, start with our introduction posts:
- Canning Introduction: Why I can (and you can, too)
- Canning for Beginners: FAQ’s
- Water Bath Canning Equipment
- Water Bath Canning Guide
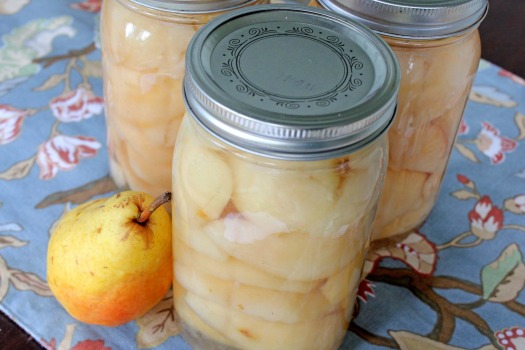
Home Canned Pears
Yield: 7 quarts
20 lbs. pears (about 2.5 lbs/quart)
Light Syrup:
2 1/4 c. sugar
5 1/4 c. water
- Sanitize your jars in the dishwasher or canner. Keep the jars hot while you prepare everything else.
- For the light syrup, combine the sugar and water in a large, shallow pan over medium heat. Stir to dissolve the sugar; keep syrup hot.
- Wash pears. Peel, core, and cut into halves or quarters. Use lemon juice or Fruit Fresh, if desired, to prevent discoloration.
- Place pears in the syrup, one layer at a time, until hot.
- Pack the hot pears into the hot jars until the fruit reaches the bottom of the threads. Ladle hot syrup over the pears, leaving 1/2″ headspace. Remove air bubbles with a non-metallic utensil or bubble remover. Place lids and rings on the jars, and screw on finger tight. Process (start time when the water reaches a boil) pints for 20 minutes, quarts for 25 minutes in a boiling water canner.
- Remove with a jar lifter to a towel or cooling rack to cool.
- Once the jars have cooled, check the seals by running a fingertip across the top of the lid. After 24 hours, remove the rings, rinse the jars, and store them in a cool, dark place.
How to use Fruit Fresh (this is a totally unscientific method, but there are NO specific instructions on how to use Fruit Fresh for canning on the web, so this is the method Angela invented and it works just fine): Fill a large bowl about three-fourths with cold water. Add about a tablespoon of Fruit Fresh to the water and swirl it around. Add the cut fruit to the water and let it sit while you finish cutting and getting the syrup ready. You can reuse the Fruit Fresh water again with the next round of pears or you can replace it. It’s really, really difficult to mess the Fruit Fresh thing up.
****************************************************
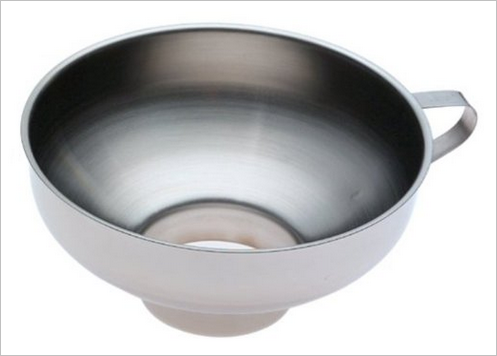
Pretty much the only time I use a funnel is when canning. It makes pouring hot syrup or jam into jars so much easier and cleaner. I prefer wide mouth, short neck funnels like this Norpro Stainless Steel Funnel (Amazon). At less than $10, I consider this an inexpensive, indispensable canning tool.
Looking for more great resources?
Follow Frugal Living NW on Pinterest!
Fantastic range of boards from best recipes and tips for frugal living to gardening and budgeting help.
This post may contain affiliate links. See the disclosure policy for more information.
Thank you so much for your simple advice to can. I as a Newby to canning, was able to figure it out and actually fall in love with canning from your easy to follow advice.
another good thing about canning your own food is that you can customize it to your liking. i like to substitute orange juice for about one fourth of the water in the syrup. i also add a pinch of freshly grated nutmeg, which smells wonderful.
if you are working by yourself and peeling the pears, they may brown before you get them in the jars and covered with syrup. i have found that 2 tablespoons of salt (you won’t taste it) and 2000 mg of vitamin c (just crush up some tablets) dissolved in two gallons of water will prevent browning. as you slip the skin after blanching, or peel the skin off, drop it in the solution for a few minutes while you are getting all your ducks in a row. you could also just put them in the warm syrup, but be sure they are held down in the liquid.
the ball blue book of preserving has up to date info and lots of helpful info. so the the local university extension service–you can even get them to test your pressure canner for accuracy, if you use one.
In case anyone else here was as lazy as me, I’ve canned pears without peeling them before and they’ve turned out fine 🙂 If you do want to peel them though, investing in a peeler is a good idea. I finally bought one for using with apples and that $15 was more than worth it.