How to Make Lego Minifigs Using Silicon Molds
On a crafty scale of 1 to 10, 10 being Martha Stewart, I would be a 0. Well, maybe a 1. I do have markers and paper. Even a tub of glue sticks! But I don’t do glitter. Paint is really pushing it. In fact, just typing glitter + paint makes my palms all sweaty. I don’t do crafts.
For the past two years, I have managed to dodge my kids’ school Christmas Craft Fair. But this year they are older and wiser and caught wind of it early. Like September. It’s been a key topic of discussion around here for the last three months. And it’s actually a really fun idea. Kids create, package, and sell their homemade crafts on one night in December. This year, there were over 40 booths set up with everything from homemade fudge to fairy gardens.
After a painful 5-minutes of searching craft boards on Pinterest last month, I was starting to have serious doubts about this whole craft thing. Everything seemed like it required too much: time, patience, effort, money.
![]()
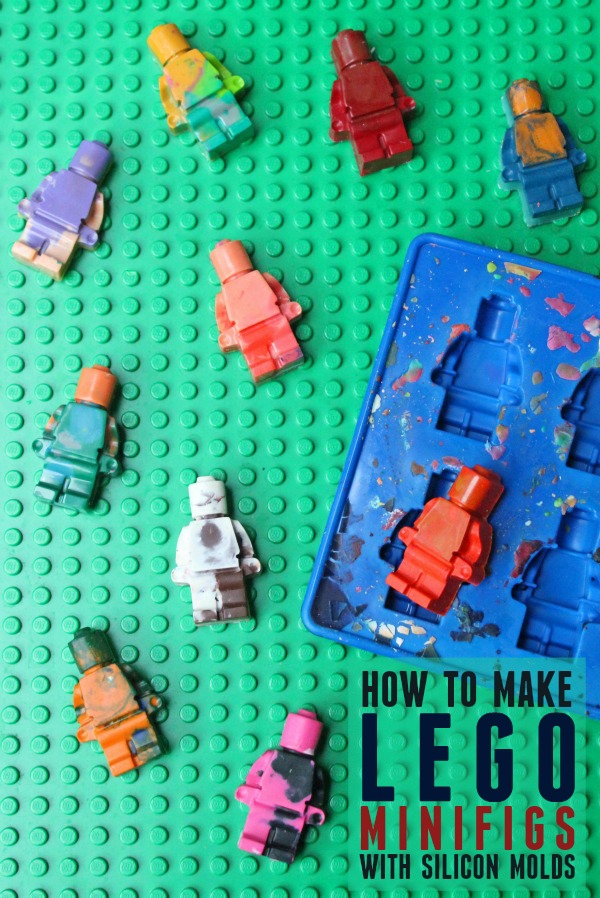
Then I stumbled onto this idea: creating Lego pieces using silicon molds. Everybody loves LEGOs. It looked as simple as chopping, melting, cooling, and popping stuff out. I could totally handle leading my little craft-starved urchins through those steps. After ordering a set of silicon molds (Amazon) and making 100+ little Lego pieces, I’m happy to report it really was that simple.
To make the crayon minifigs & blocks, start with unwrapping the crayons. My smart husband figured out that using a utility knife made it go much faster. He’d slice the paper, then the kids would peel off the wrapper. This is a great place to empty out your box of old, broken crayons! We also bought six big boxes from the dollar store.
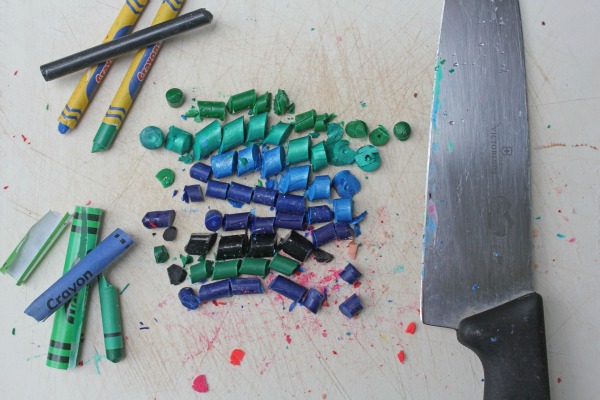
Next up you just chop the crayons into small pieces. For some, the kids grouped like-colors together. Others we just mixed and matched. You could do solid colors (all navy blue) or swirl color combinations. The multi-color ones were our favorites.
![]()
Fill the silicon molds with crayon pieces. As they melt down, you can add more pieces. You just want to stay below the lip of each mold so you don’t have melted wax running everywhere. The smaller minifig molds hold just over 1 standard crayon.
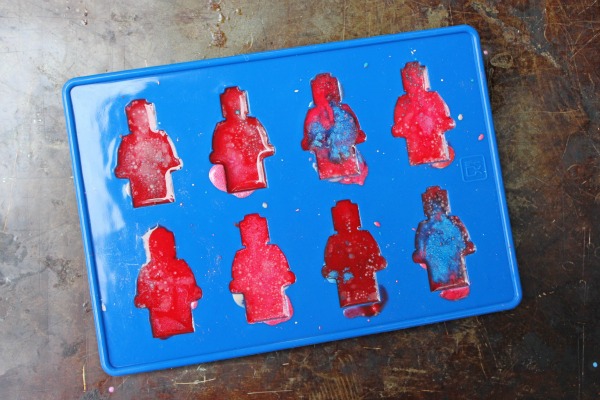
Place the silicon mold on a baking sheet. And learn from my mistake: cover that baking sheet with foil first. Trust me, it will make clean up much easier!
Melt at 325-350 degrees, adding more crayon pieces after about five minutes. I was happy to discover you can’t really screw this up. Those silicon molds are great. Carefully remove the baking sheet when all crayon pieces are completely melted, about 10-15 minutes (depends on the size of your molds).
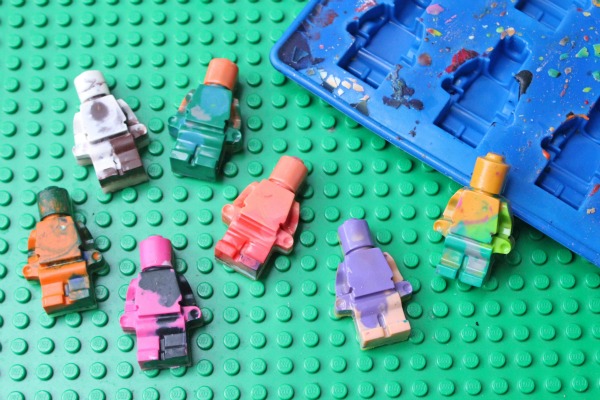
Let the molds cool for about 10 minutes. I set mine outside. Then place in the refrigerator until completely cool. Pop out and repeat!
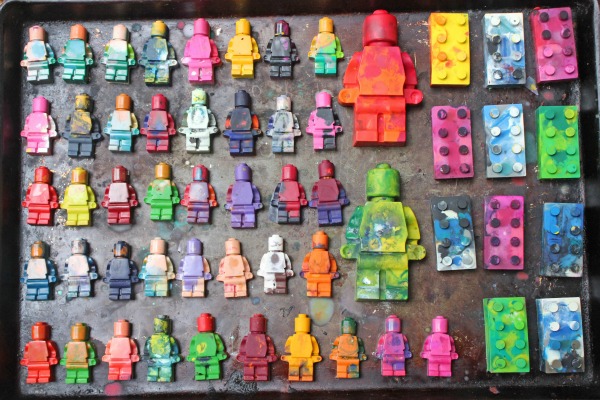
We cranked out dozens of these babies in one afternoon. It was actually fun for the whole family, including me, the Craft Grinch. Other than the fact that our house smelled like melted wax for two days, it was a bit hit. Our favorites were definitely the minifigs. Look at those big ones! Too cool.
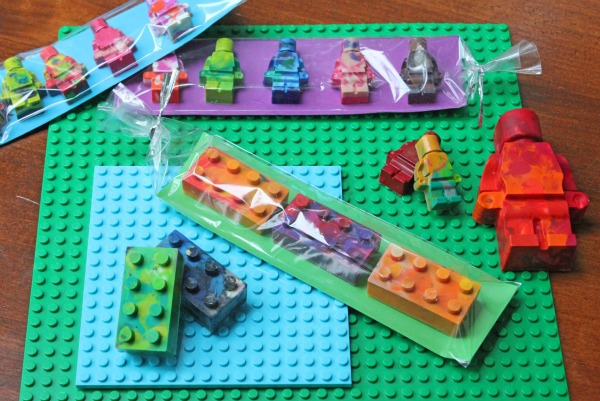
For packaging them up, I found some clearance plastic bags, but craft stores carry a wide variety of shapes & sizes that are inexpensive (especially with a coupon). We slid some bright card stock in the backs and filled with crayons. These crayons would make fun party favors or small fillers (a non-sugar option for Easter eggs!) for pretty much any event that involves kids 3+.
For the holidays, cover the kids table in white or brown craft paper, stock it with crayons, and keep the kids busy until dinner is served. These would also make fun gift tags or stocking stuffers. And trust me, if I can do this project, anyone can do this project.
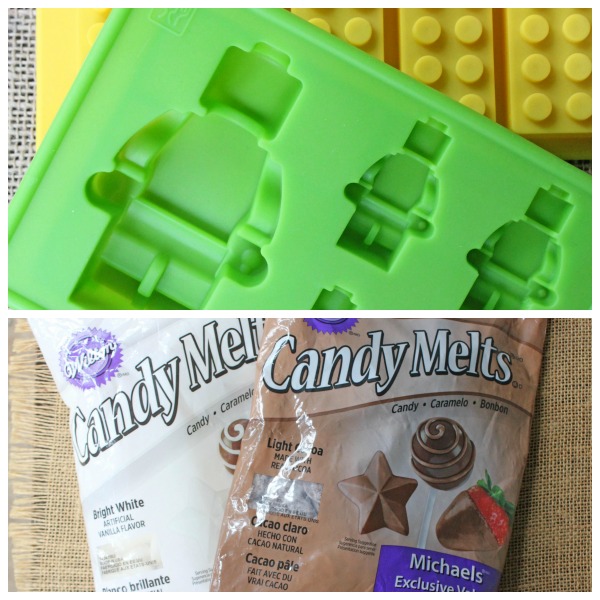
We also made two dozen chocolate Lego pieces. These guys were more time-intensive, as the chocolate takes three times longer than the crayons to cool. But it’s still a fun, easy option for using your silicon molds. You could get really crazy with this one. I read tutorials that involved small paintbrushes and peanut butter filling. You know that’s not happening in my house, but if you are a 6+ on the crafty scale, you could be all over that one.
I read about all the different kinds of chocolates, pros and cons for melting and eating. At the end of the day, I knew most of our craft fair customers would be kids so I just went with the option that had the reputation for melting (and re-melting) really easily: Candy Melts. You can buy big bags of these at craft stores or on Amazon. They aren’t the best chocolate, but for this project they were foolproof which was my main criteria.
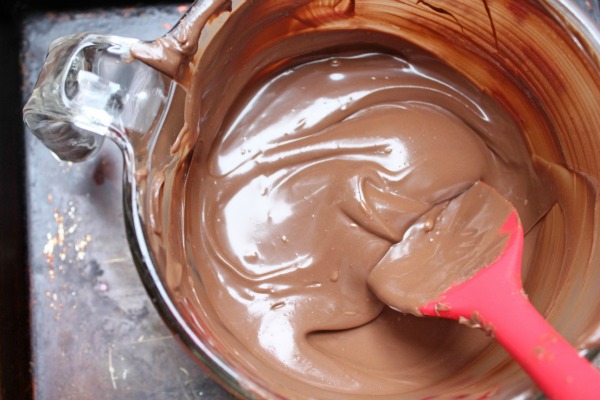
Place the chocolate in a microwave-safe bowl. Melt at half-power 30 seconds at a time, stirring often, until the chocolate is shiny and melted.
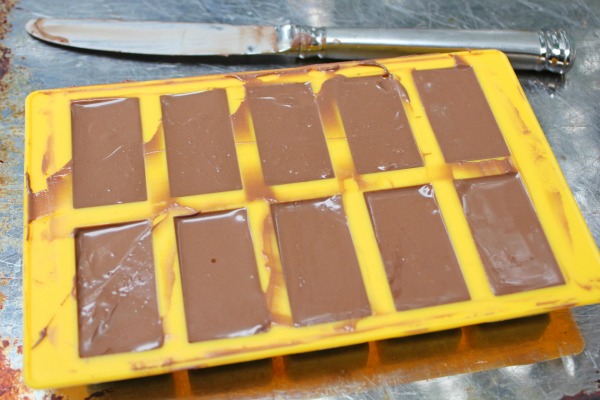
Pour into your silicon molds. I tried a bunch of different methods. In the end, the easiest was to pour chocolate over the entire mold, then smooth and scrape it with a knife until the backs were mostly smooth. I tried to poke the chocolate into all the holes and smack the filled mold on the counter to remove air bubbles. The results were mixed. These definitely didn’t turn out as perfect as the crayon version because the mixture was thicker.
Place mold in the refrigerator and chill until firm. Pop out!
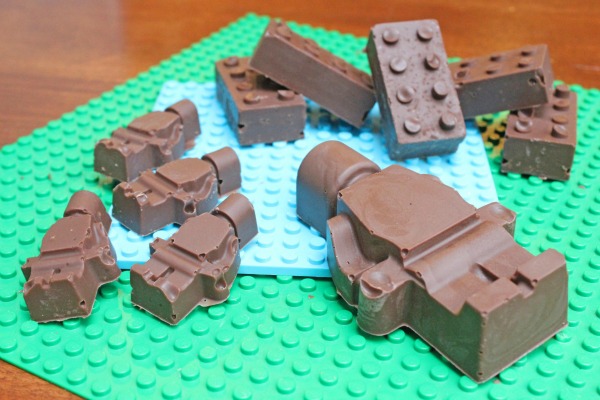
So while not as fast or easy, the kids still loved these ones. Set them out for a unique treat on the dessert table or put them in little boxes or bags or another fun stocking stuffer or party favor.
Whether you are a 1 or a 10 in the crafty world of glitter and paint, try this simple project that will delight the kids in your life!
********************************************
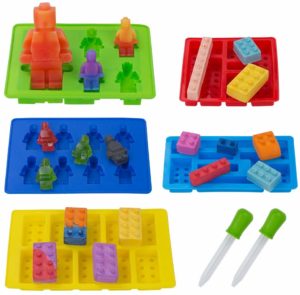
For just under $12, you can grab a silicon molds (Amazon). These can be used for fruit, ice, gelatin, chocolate, crayons, etc. This is the set I bought, and they worked great!
If you’re looking for more variety in shapes and sizes, check out all the Silicon LEGO Molds Amazon carries HERE.
Looking for more fun activities to do with kids?
Follow Frugal Living NW on Pinterest!
Fantastic range of boards from best recipes and tips for frugal living to gardening and budgeting help.
This post may contain affiliate links. See the disclosure policy for more information.


Howdy!!
I might have missed this in your post — I am sorry if I did!
Did you use the same molds for the crayons and the chocolate candies?
How did you clean them?
Thank you again!!
Joy your way,
McKenzie
Hi Angela! Thank you for your post! We are making these for my son’s kindergarten class for Valentines.
What a fun idea! Thanks for sharing a fun idea like this.